Keeping Your Craft Room Organized
Do you have a craft room/sewing room and are feeling overwhelmed at the clutter and unorganized space. I’m here to help you with that dilemma.
Organizing your craft or sewing room can feel overwhelming, but creating a space that’s functional and inspiring is easier than it seems. By focusing on smart storage solutions and simple strategies, you can transform any cluttered workspace into an efficient haven for creativity. Whether you’re just starting out or running a full-fledged business, these tips will help you get organized and make the most of your crafting space.
Decluttering and Organizing
When it comes to decluttering and organizing a craft room, it’s important to make the process approachable and not overwhelming. Here are some easy and simple tips to get you started:
- Start Small with One Area
Encourage your readers to begin with a manageable section, like a drawer, shelf, or a specific category of supplies (like fabric or tools). Starting small reduces overwhelm and builds momentum. - Use the “Keep, Toss, Donate” Method
Suggest using three bins or boxes labeled Keep, Toss, and Donate. This method makes decision-making quicker and encourages your readers to assess each item’s value in their space. - Sort by Category, Not Location
Sorting supplies by category (like yarn, paint, or tools) helps your readers see what they have and avoid duplicates. It also makes it easier to find things later. - Clear Containers for Visibility
Recommend using clear plastic bins, jars, or boxes so they can easily see what’s inside. This tip will help them stay organized long-term and find supplies at a glance. - Create a “Current Projects” Area
Suggest designating a specific area or basket for current projects. This will keep them focused and prevent unfinished work from cluttering the entire space. - Set a Timer for Quick Decluttering Sessions
Encourage readers to set a 15- to 30-minute timer and declutter in short bursts. This keeps the process from feeling overwhelming, and even small amounts of time can make a big impact.
Ideas for Your Craft Room
Whether you are new to crafting or a seasoned aficionado we want to have our own private little space to be creative in now that you have a clean and organized room. Here are some additional tips for all DIY, Crafters, and or Sew extraidonaire.
Invest In A Sewing Cabinet
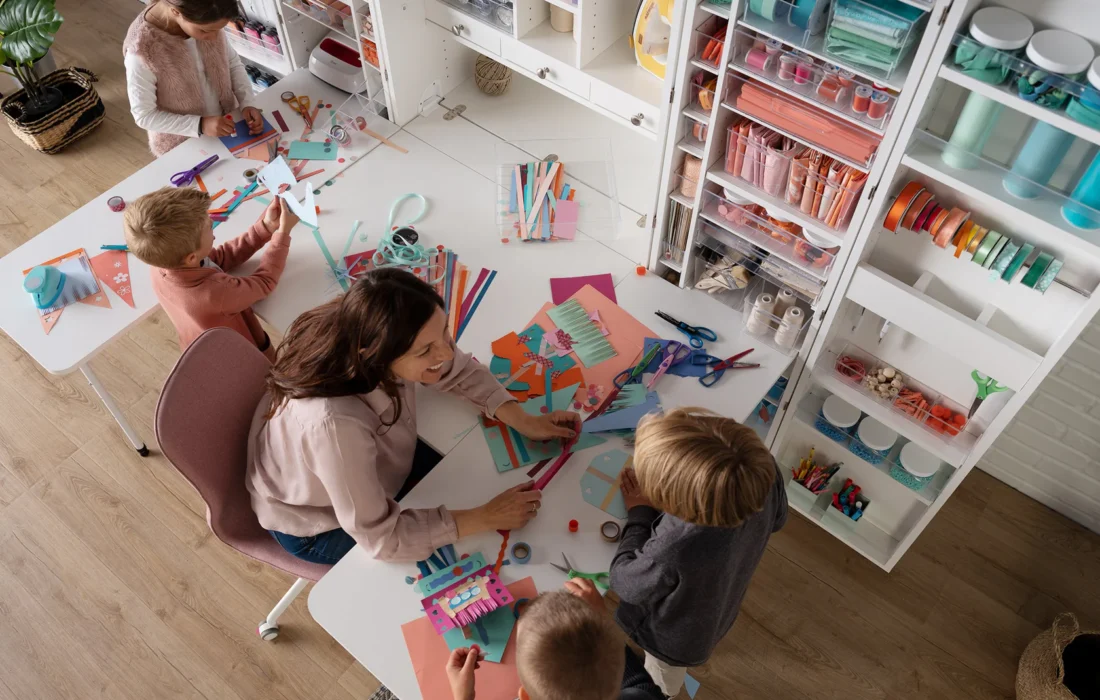
If you don’t have a sewing cabinet, you’re missing out. These bad boys aren’t just for stashing your sewing machine—they can hide all kinds of crafting mischief. With multiple drawers, shelves, and secret compartments (okay, maybe not secret, but they feel like it), a sewing cabinet gives you a designated space for all your spools, bobbins, and fabric pieces. It’s like the Mary Poppins bag of craft storage.
Plus, when you’re not using it, you can close it up and pretend like you’re a totally organized human who never leaves half-finished projects lying around. It’s an illusion worth maintaining, trust me.
The Art of the Label
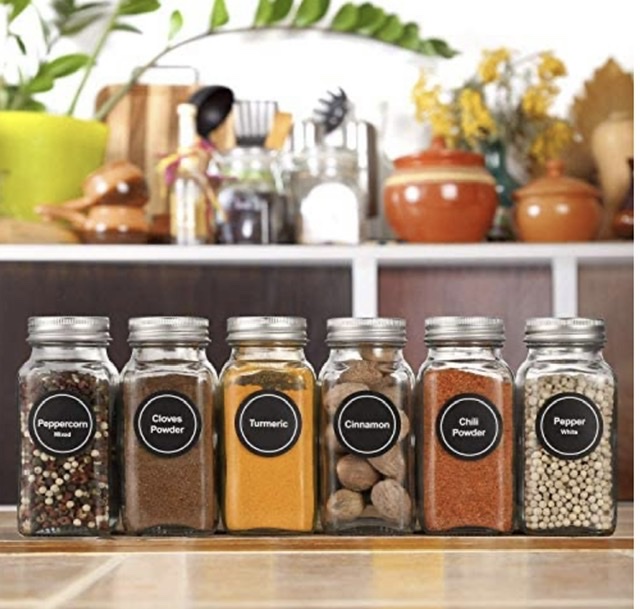
Look, I’m not saying you need to go full-on librarian with a label maker in hand, but a little labeling goes a long way. Imagine a world where you can find that exact shade of embroidery thread or that elusive pack of googly eyes without tearing your room apart. It’s a magical place, and it’s achievable with just a few labels and some jars.
Stick labels on everything—bins, drawers, containers, even shelves. That way, when you’re elbow-deep in a project and need more glue sticks stat, you’ll know exactly where to find them instead of throwing a small tantrum when they’re nowhere to be seen.
Pegboards are Priceless
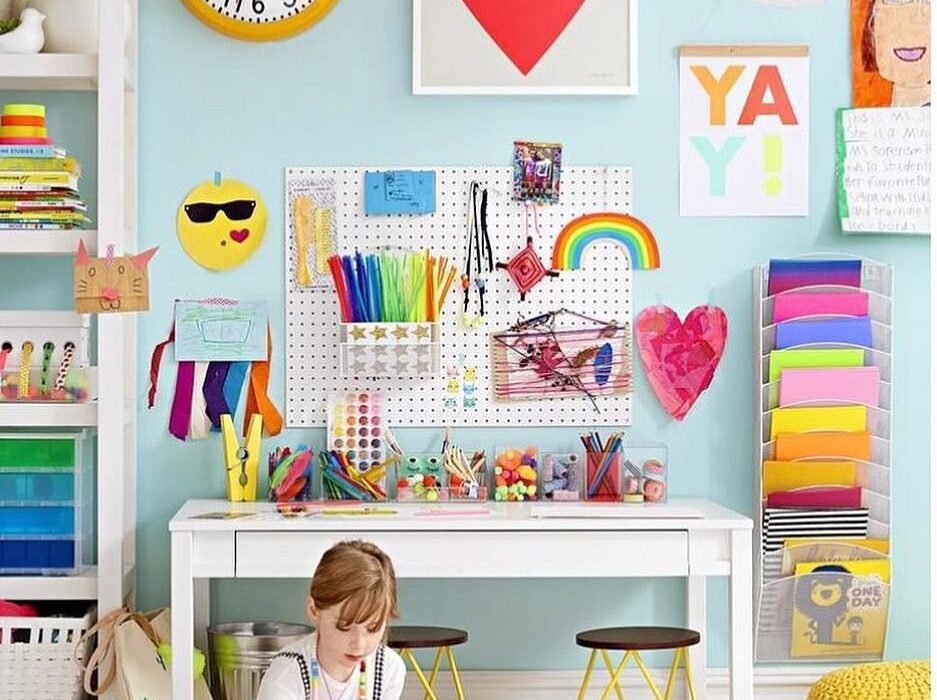
Pegboards have entered the crafting world, and honestly, we should’ve seen it coming. Originally reserved for tools and garages, these handy organizers are now the go-to for crafters who want to keep their supplies visible and accessible without turning their space into a nightmare.
Mount a pegboard on your wall, hang up baskets, hooks, or tiny shelves, and suddenly your craft supplies are within arm’s reach. It’s like being able to see all your creative potential laid out before you—without the clutter-induced anxiety.
Drawers, Drawers, and More Drawers
Do you ever feel like you’re drowning in a sea of buttons, beads, and glitter? Then it’s time to embrace the magic of drawers. Seriously, just shove everything in there. No one said organizing had to be glamorous. Invest in a sturdy drawer unit, label the heck out of it, and call it a day.
Drawers give you the power to hide your chaos while maintaining the illusion of order. Plus, when guests come over, you can give them a quick tour of your “totally organized” craft room without actually opening anything.
Designated Work Zones
If you’re feeling particularly ambitious, create specific zones in your craft room for different activities. One area for sewing, another for painting, a corner for gluing things you shouldn’t glue, etc. It’s like crafting in a well-organized workshop—except it’s your home, and you’re usually covered in paint.
By keeping certain supplies in designated zones, you’ll reduce the amount of running around, and hopefully, the number of times you trip over that ball of yarn you swear you put away.
Incorporate A Kids Creative Space
When organizing your craft room, it’s important to consider the little ones who love to get involved. By designating a small, kid-friendly area, you can encourage their creativity while keeping your space organized. Set up a low table or desk with easy access to child-safe supplies like crayons, markers, and paper. Having a dedicated spot for them allows you to work on your own projects while keeping an eye on theirs. It also helps teach kids early on about organizing their materials and respecting workspace boundaries. A labeled bin or drawer just for their creations can keep things tidy and make them feel like part of the process. Plus, crafting alongside your kids is a wonderful way to bond and inspire creativity in them from a young age. With the right setup, your craft room can be a haven for both you and your little ones!
Your Turn
Now that you’re ready to revamp your craft room, don’t forget to take your time and enjoy the process. I’d love to see how you’ve transformed your space—feel free to share your progress! Need more inspiration? Check out the pictures and links below for some of my favorite storage solutions and organizing tools. You’ll find everything you need to create a beautiful and functional workspace. Happy organizing!
Before You Go…
As always, I appreciate your visit, comments, and shares here on the blog! I’d love it if you also follow along with me on Pinterest, Instagram, and Facebook so you won’t miss any of my inspiration and ideas.
QUESTION:
Are you already a subscriber of The City Cottage? If not, sign up below to be the first to receive exclusive DIYs, home styling tips, organizing guides, and free printables straight to your inbox. Enjoy seasonal inspiration, budget-friendly projects, and early access to special deals and promotions. Let’s create a home you truly love together!
