Have a beloved piece that’s worn out but too sentimental to toss?
If you’re torn between tossing it or keeping it, don’t give up on it just yet. With a little paint and some creativity, you can give it new life—without breaking the bank.
I know that first hand, for 10 years I was “mortgage free” and then at the end of 2018 I decided to buy a home. It was quite an adjustment, the house was in very good shape (Built Circa 2003) But…. I don’t think any of us are really 100% loving our house 100% of the time. We go on Pinterest, we see books we follow blogs and “Oh my Goodness” we are crushing over everything we see. I know I’m guilty of that. How about you?
How to update without it costing me money? That was the question. I sat and I sat and I thought what could I do? …. Oh I know I’ll take a class on chalk painting furniture. I’ll paint furniture. Well now this is a surprise even to me, I one do not like to paint and two I’m not very good at it. I have to admit that in full disclosure.
So, I decided to take a class at our local Annie Sloan Colorist Shop. Even using the words, Annie Sloan colorist scare the living daylights out of me! You too….?????
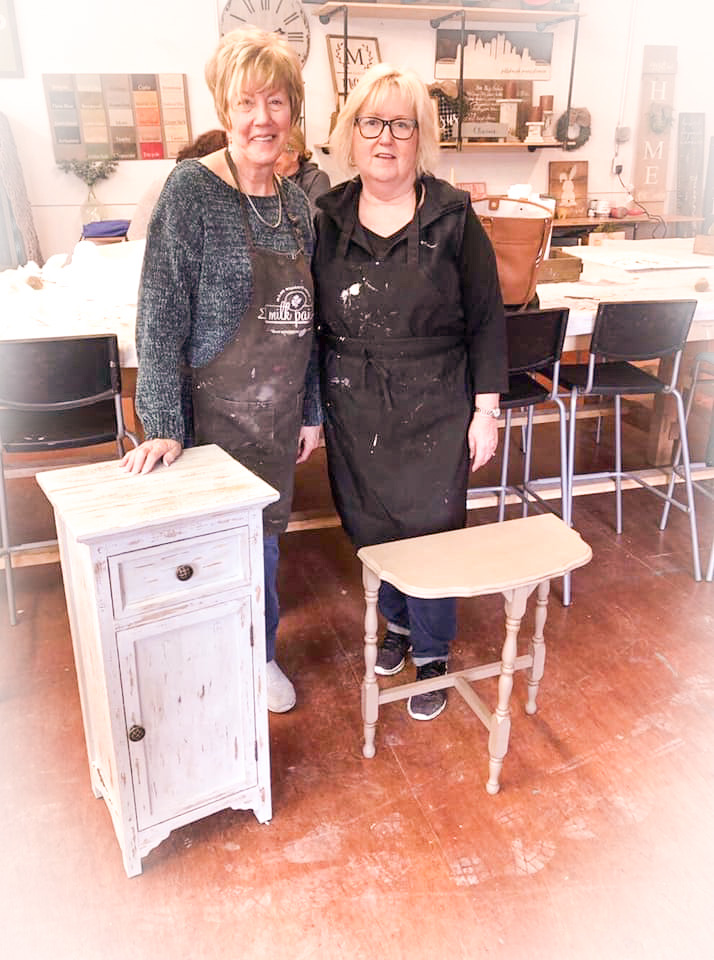
In the car, as I go, to the Colorists, the shops name is Vintage in Bloom and during this time they are on FB still instructing and sharing but above all caring….
Vintage In Bloom is owned and operated by the two coolest and talented women I know, Adrienne McCaughey and Morgan Baxter Milton. They are our local Annie Sloan Colorist.
Find your local colorist shop: CLICK HERE and maybe they will be offering some of the things I am mentioning below.
I attended a class called “Bring Your Own Piece-Learning to Chalk Paint with Annie Sloan Chalk Paint®” and was shown Annie Sloan Chalk Paint® and Waxes. To Distress or Not. I was a believer and a “groupie”. LOL.
I can honestly say to people, if I can do this you can do it also. I was not a lover of painting but I am now. Ask any of my friends… LOL
A coat of paint is a fast, economical way to breathe new life into an old piece of furniture. Follow these easy instructions on how to prep and paint wood furniture for beautiful results. I will also be guiding you through how to find the best supplies for your project.
So as promised, I am supplying you with a quick and simple “how to” paint with chalk paint on any surface
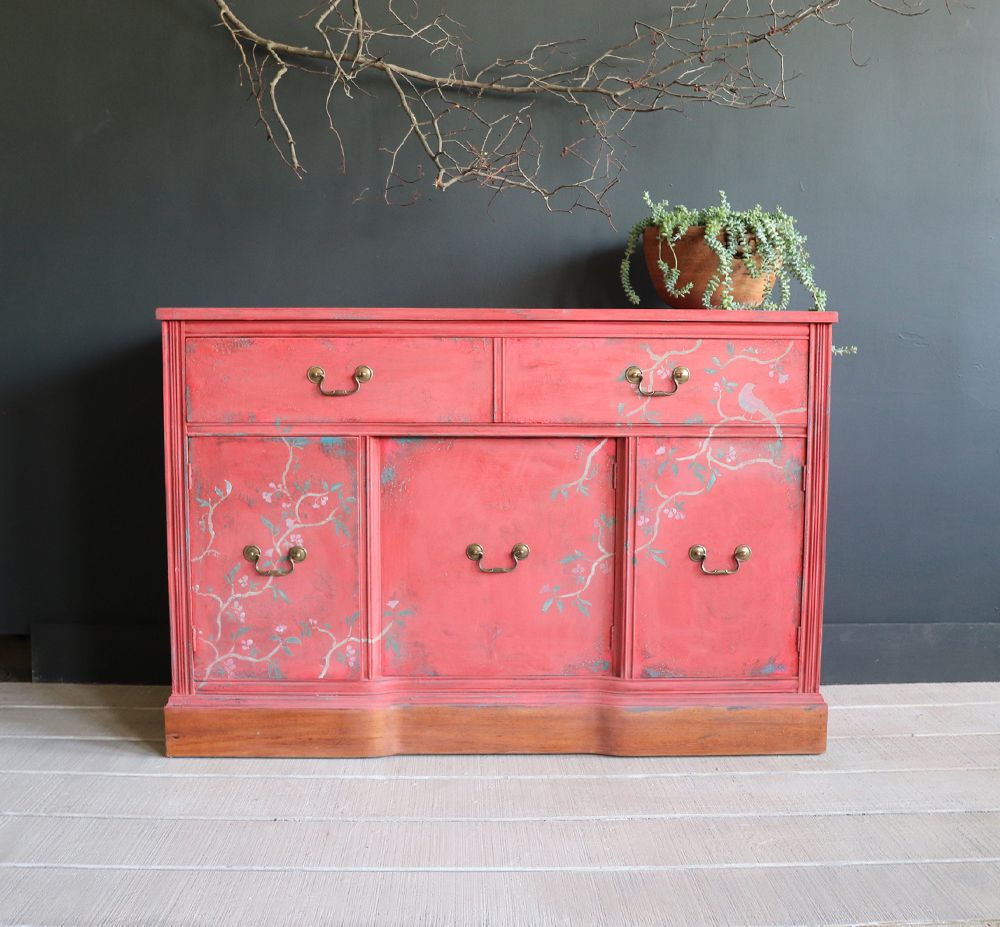
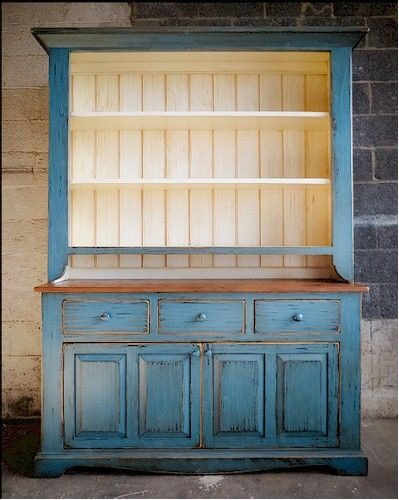
Chalk painting furniture is a wonderful way to transform old or worn-out pieces into chic, shabby-chic, or vintage-style items. It’s a popular DIY project that requires minimal supplies and skills. Here’s a step-by-step guide to get you started:
Before you begin, ensure you have the following items ready:
– Furniture piece to be painted
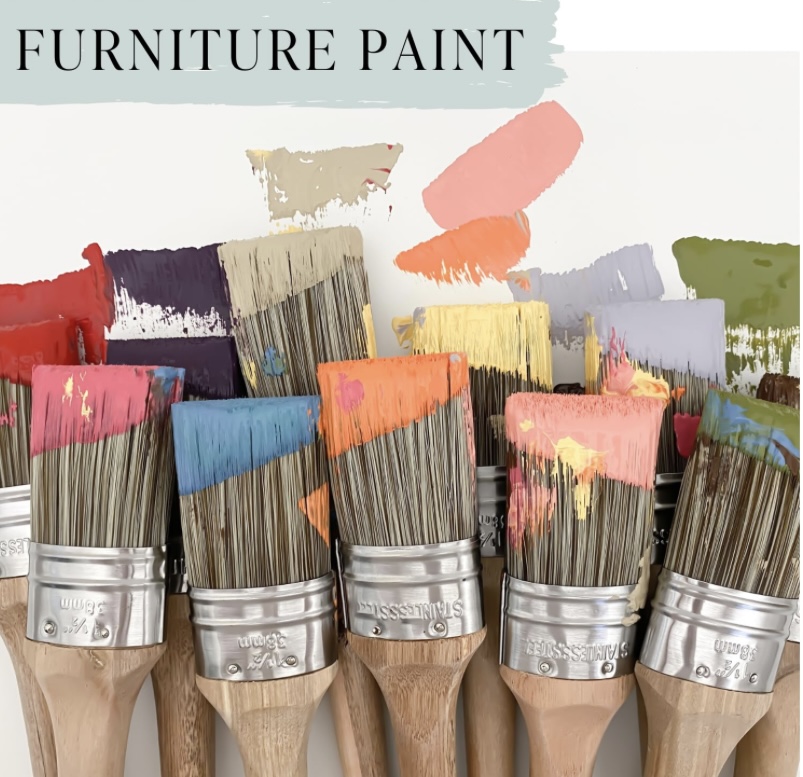
– Chalk paint (you can buy pre-made or make your own)
– Paintbrushes (natural bristle brushes work well)
– Sandpaper (medium and fine grit)
– Clean cloth or tack cloth
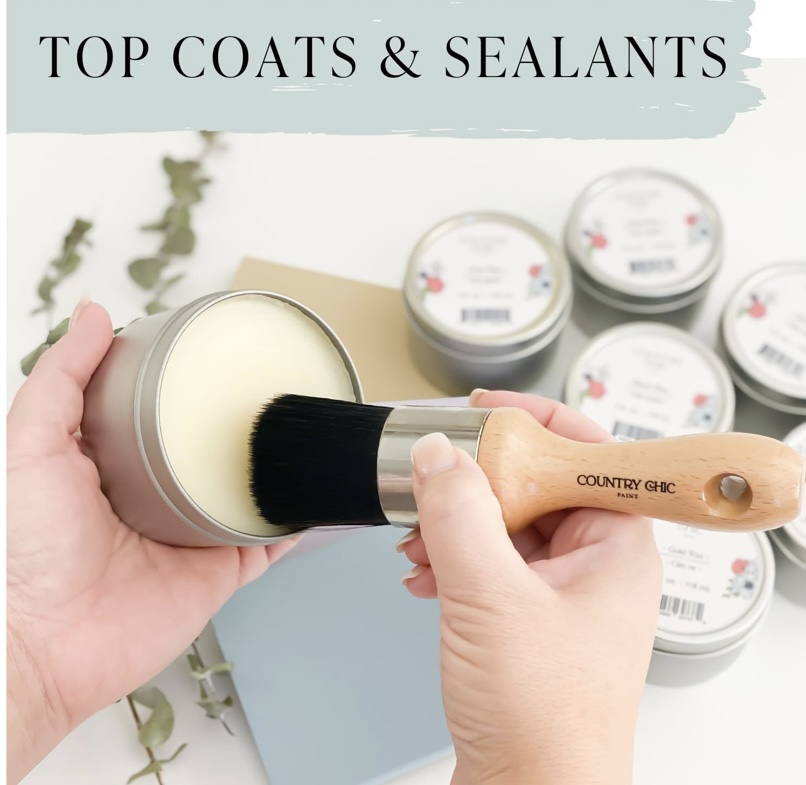
– Wax or sealant (optional, but recommended)
– Protective gloves and clothing
Set up your project in a work area. Allow enough ventilation to carry away paint fumes. Leave space to walk completely around the object you’re painting. Vacuum any dust and debris around the area where you’ll apply the paint, especially the floor and overhead lights. Allow the air to clear so it won’t leave dust on your freshly painted surface. Then gently wipe off any dust that settled on the wood surface.
Before painting, clean the furniture thoroughly with a damp cloth to remove dirt and dust. If the piece has any existing finish, you may need to sand it lightly to create a better surface for the paint to adhere to. Use medium-grit sandpaper for this step.
Then be sure to de-grime your piece. With the hardware removed, you’ll see some build-up of dirt. In addition, even if the piece looks clean, there could still be grease or residue that will prevent your new paint job from properly adhering.
If your piece has been in storage long or you purchased it it will require more cleaning attention. For those kinds of old pieces, It is best to use a grease-cutting cleaner like TSP that is meant for paint jobs specifically. This product is designed to resolve the grease quickly and effectively without leaving any residue behind (in contrast to regular kitchen degreasers, those won’t work here).
TIP:
If you see screws on the inside front of a drawer box, the drawer may have a removable front piece that’ll be easier to paint than the entire drawer. Remove the screws to see if the front can be lifted free. If you have more than one drawer with a detachable front, label the fronts and drawers to help with reassembly.
Shake or stir the chalk paint thoroughly to ensure it’s well-mixed. Dip your paintbrush into the paint and begin applying it to the furniture. You can use long, even strokes or a more random, textured approach, depending on your desired look. Typically, one or two coats of paint are sufficient, but you can add more for a more opaque finish. Allow each coat to dry completely before applying the next.
If you want a distressed or aged look, you can distress the furniture after the paint has dried. Use fine-grit sandpaper to lightly sand the edges and raised areas of the piece. This will expose some of the original wood or previous layers of paint underneath.
To protect the finish and give it a subtle sheen, apply a clear furniture wax or sealant using a clean, lint-free cloth. Follow the manufacturer’s instructions for drying times and buff the wax to a smooth finish.
Replace any hardware or fixtures you removed before painting. Clean up your workspace, and let your newly painted furniture cure for a few days to ensure it’s fully hardened and ready for use.
Once your furniture piece is fully dry and cured, you can enjoy your beautifully transformed item in your home. It’s a great way to add character and style to any space!
Remember, chalk painting furniture is a versatile and forgiving DIY project that allows you to experiment with different colors and techniques. Don’t be afraid to get creative and have fun with it!
There are several popular brands of chalk paint on the market known for their quality and versatility. Here are a few well-known options:
Annie Sloan Chalk Paint: Annie Sloan is often credited with popularizing chalk paint. Her brand offers a wide range of colors and is known for its ease of use and excellent coverage.
Rust-Oleum Chalked Paint: Rust-Oleum’s Chalked Paint is known for its affordability and durability. It’s available in various finishes and colors, making it a popular choice for DIYers.
FolkArt Home Decor Chalk Paint: FolkArt offers a budget-friendly option with a range of colors and sizes. It’s readily available at many craft and home improvement stores.
DecoArt Americana Decor Chalky Finish Paint: This brand offers a smooth and creamy chalk paint that adheres well to various surfaces. It’s often praised for its consistency and affordable price.
Waverly Inspirations Chalk Paint: Waverly’s line of chalk paint is available at Walmart and offers a good selection of colors at a budget-friendly price point.
Behr Chalk Decorative Paint: Behr, a well-known paint brand, also offers a line of chalk decorative paint. It’s known for its durability and is available in a range of colors.
When choosing a brand of chalk paint, consider factors like color selection, availability, price, and your specific project needs. Most chalk paints can be used on furniture, but it’s a good idea to check the manufacturer’s instructions for any unique recommendations or requirements.
The short answer is yes, of course.
Maybe you are even more of a DIYer and would like to make your own chalk paint. That is a simple process and I will share with below.
Of course, I’d be happy to help with that! Making your own chalk paint at home is easy and cost-effective. Here’s a simple recipe:
**Homemade Chalk Paint Recipe:**
You’ll need three main ingredients:
1. Latex or acrylic paint (any color you desire)
2. Plaster of Paris
3. Water
Instructions:
1. In a container, mix 1 cup of paint with 2-3 tablespoons of Plaster of Paris. Adjust the amount of Plaster of Paris to achieve your desired thickness.
2. Slowly add water, a little at a time, and stir until you reach a smooth and creamy consistency. Typically, you’ll need about 1-2 tablespoons of water.
3. Once mixed well, your DIY chalk paint is ready to use!
Remember to store any unused paint in an airtight container to prevent it from drying out. Enjoy your cost-effective chalk paint for all your creative projects! 🎨✨
Meanwhile, I have added my China Cabinet and Buffet Server in the mix. I will use my chalk painting furniture, tips. So as you can see, I have lots of projects and so little time. This was the first time I ever bought some thing sight unseen .
The pictures were lovely online. From a distance, the piece showed great character and detail. I knew I could figure out some thing to enhance this beautiful piece of furniture. Have you guessed yet? Yes, let’s Chalk Paint.
Chalk Painting Furniture: Chalk painting furniture is like giving your beloved pieces a charming makeover. It’s a creative DIY process that breathes new life into old or tired furniture, transforming them into shabby-chic or vintage-style gems.
What We Covered:
With these insights, you’re well-equipped to embark on your chalk-painting adventure, adding a touch of character and creativity to your living space. So, whether you’re a seasoned DIY pro or a beginner, enjoy the journey of transforming your furniture with the magic of chalk paint!
I hope I have inspired you to start a Chalk Paint project, I can’t stress enough how easy and forgiving Chalk Painting is. I encourage to try your hand at this, “You Got This.” Happy Painting…
When you finally do that project big/small I hope you will share it with us here. Don’t forget to share your pictures also. I love seeing others creativity.
disclosure: affiliate links are used in this post