Create a Custom Recipe Binder
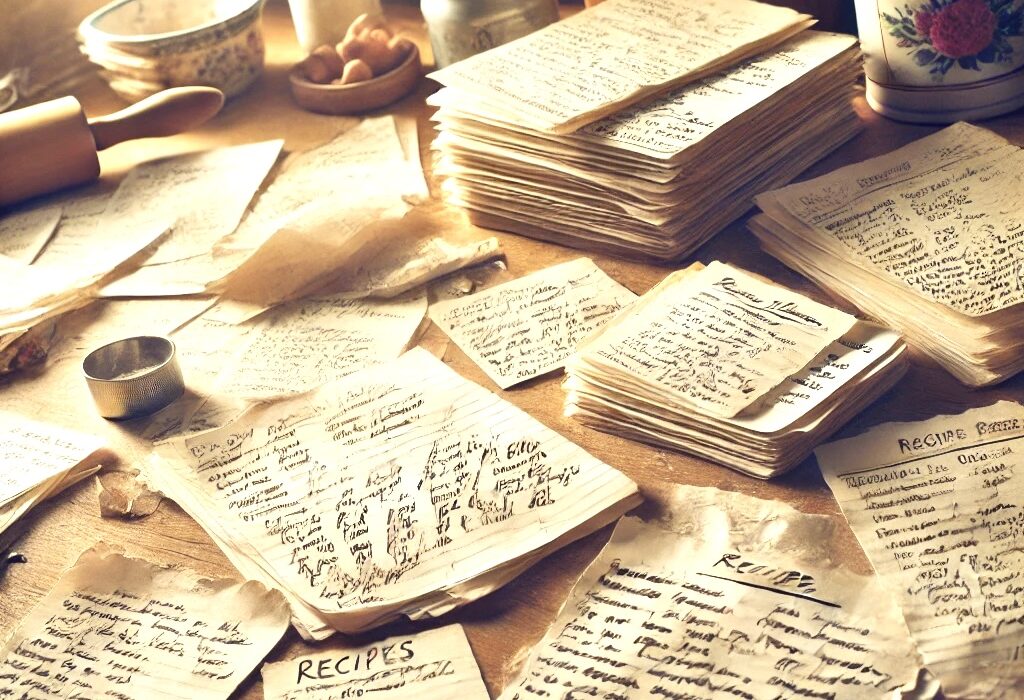
Are your favorite recipes scattered and hard to find? Discover how to create a DIY recipe binder that keeps everything organized and at your fingertips.
Even with recipes available online, a DIY recipe binder offers a personal, hands-on way to keep tried-and-true favorites all in one place—perfect for when you want to unplug, cook without distractions, or preserve treasured family recipes that are not found on the web. It is a practical solution for those moments when scrolling through screens just does not have the same charm or efficiency.
Who Is This Binder For?
This DIY Recipe Binder post is perfect for:
– Home Cooks and Bakers: People who love to cook or bake and want an organized way to store their favorite recipes.
– Busy Parents: Parents looking for a quick and easy way to manage family meals by keeping go-to recipes at their fingertips.
–Newlyweds or Recent Movers: Those setting up a new home or kitchen and looking for practical ways to keep recipes organized.
– Organization Enthusiast: Anyone who enjoys bringing order to their kitchen and wants a streamlined solution for recipe storage.
– Budget-Conscious Cooks: People who want to create a functional recipe storage solution without spending a lot of money.
Why Would I Need A Recipe Binder?
The DIY Binder is:
– An Easy-to-Follow System: A straightforward method to organize your recipes, making it easy to access your favorite dishes without sorting through loose papers or digital clutter.
– Customization Options: Ideas for personalizing their recipe binder to fit your specific needs, like adding sections for different meal types (breakfast, lunch, dinner) or including family recipes.
– Aesthetic and Functional Design: Inspiration for creating a recipe binder that is not only functional but also visually appealing, adding a touch of style to your kitchen.
– A Cost-Effective Solution: A way to create an organized recipe storage system without breaking the bank, using materials you might already have or can easily find.
– A Practical Gift Idea: A DIY recipe binder could also serve as a thoughtful gift for friends or family members who love cooking or are starting a new chapter in their lives, like moving into a new home.
Even with recipes available online, a DIY recipe binder offers a personal, hands-on way to keep heirloom recipes and family favorites all in one place—perfect for when you want to unplug, cook without distractions, or preserve those treasured recipes from Grandma to pass down to your daughter as she grows up. It’s a practical solution for those moments when scrolling through screens just does not capture the same warmth or sentiment.
DIY RECIPE BINDER
Step-by-Step DIY Instructions: A detailed guide on how to create their own recipe binder, from choosing the right materials to organizing the sections, making the process easy and approachable for all skill levels.
**Materials Needed:**
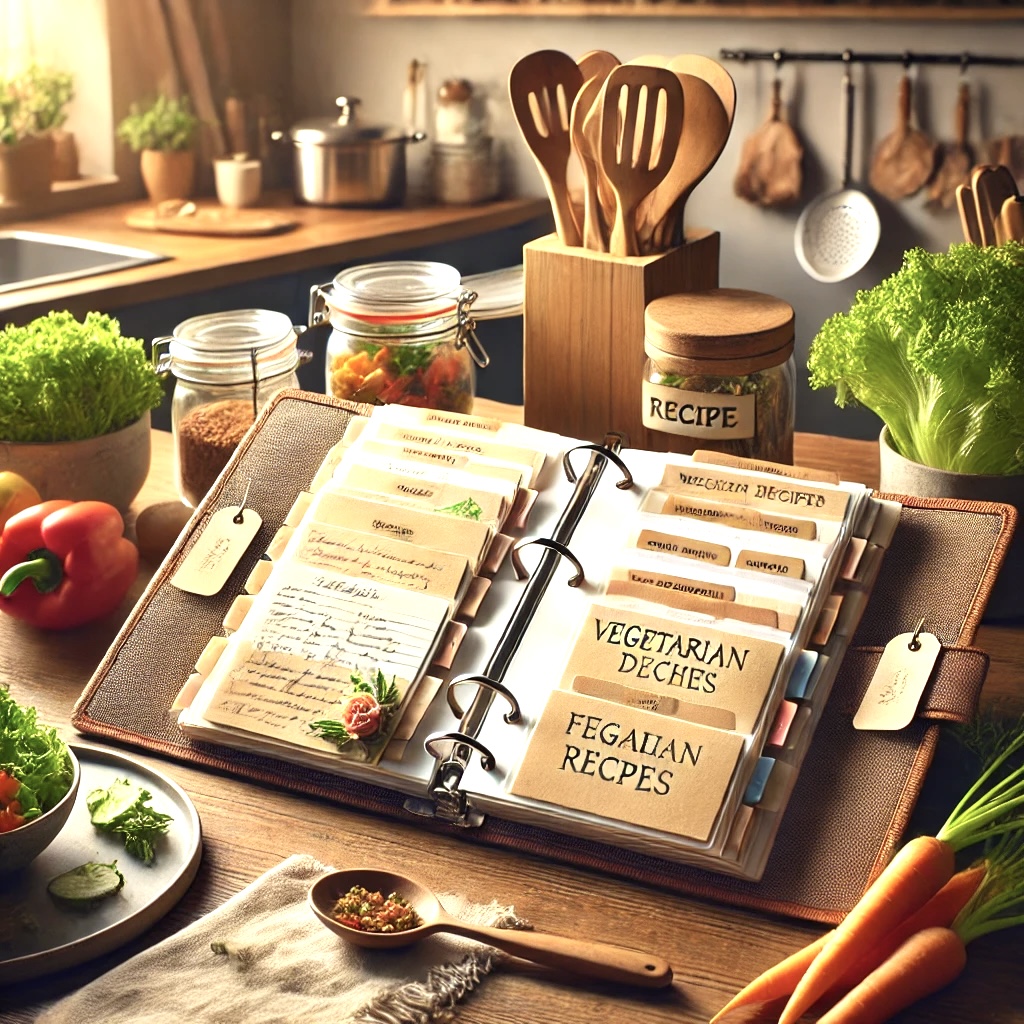
– 3-Ring Binder: Choose a binder size that fits your needs, like a 1-inch or 2-inch binder. For a more personalized touch, consider one with a customizable cover.
-Plastic Sheet Protectors: These keep your recipe pages clean from spills and splatters.
-Divider Tabs : Use tabs to create sections like “Appetizers,” “Main Dishes,” “Desserts,” or even “Grandma’s Recipes” for those special family favorites.
– Budget-Friendly Tips: Advice on how to source affordable materials for their binder, such as using dollar-store supplies or repurposing items they already have at home, making the project accessible for those on a budget.
– Organizational Inspiration: Ideas for how to divide their recipe binder into useful sections, like “Family Favorites,” “Weeknight Dinners,” or “Holiday Recipes,” helping them create a binder that makes meal planning a – Visual Examples and Photos: Before-and-after photos or styled shots of the finished recipe binder, providing inspiration and a clear vision of what their final product could look like.
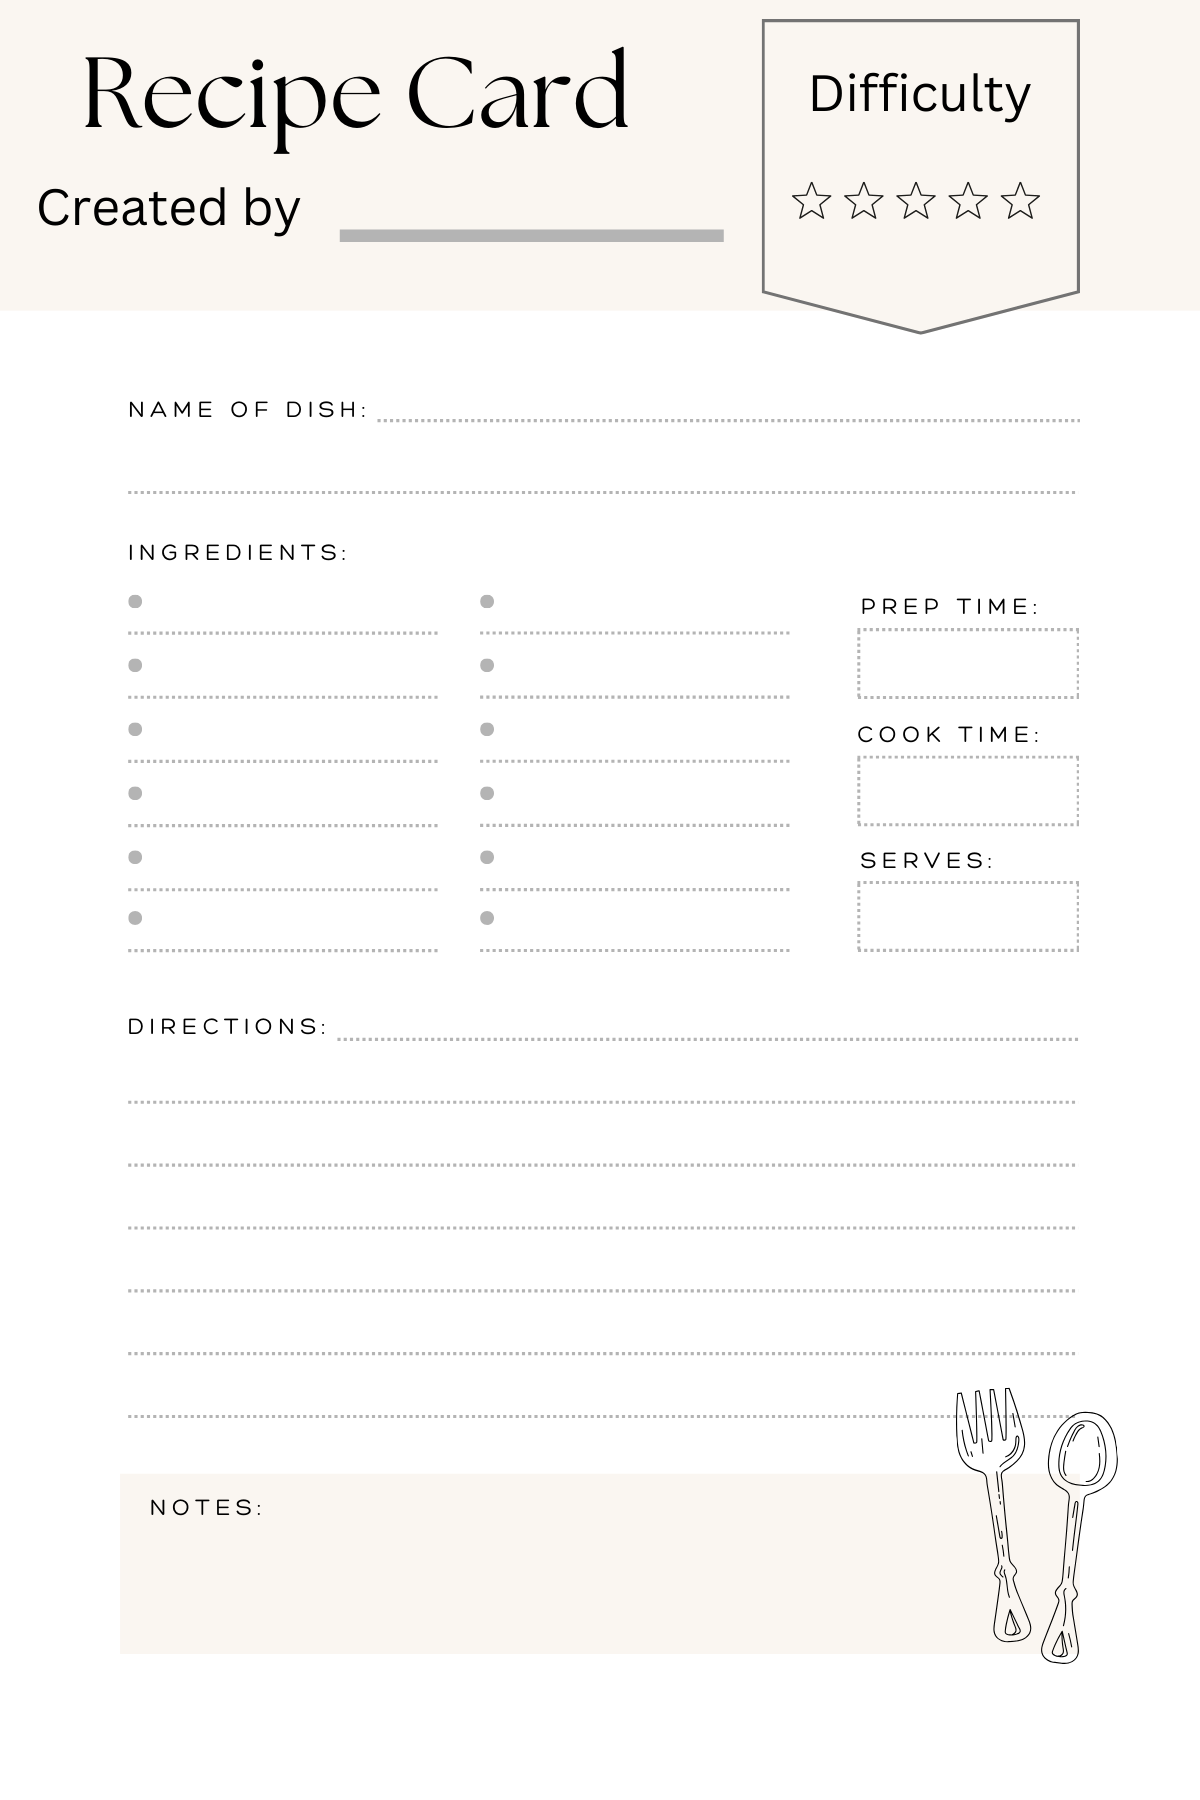
– Printable Recipe Templates: Use free or custom printables from *The City Cottage* or design your own to add a cohesive look to your recipes.
– Clear Pocket Folders (Optional): Great for storing clippings, loose recipe cards, or notes.
Step-by-Step Instructions:
1. Gather and Sort Recipes:
– Collect all your loose recipes, clippings, and handwritten notes. This is the time to go through those recipes you’ve bookmarked online or written on scrap paper.
– Sort them into categories that make sense for you—like breakfast, lunch, dinner, family heirlooms, or holiday favorites.w2. Print and Customize:
– Print out your favorite recipes on standard-sized paper, or copy handwritten ones onto printable recipe templates. This gives a uniform look to the binder.
– For extra personalization, add notes like “Grandma’s Secret Tip” or “Family Tradition” on the recipe sheets.
3. Organize in Plastic Sheet Protectors:
– Slide each recipe page into a plastic sheet protector to keep them safe from kitchen messes. This makes it easy to flip through the binder without worrying about spills.
4. Create Sections with Divider Tabs:
– Place divider tabs in the binder for easy navigation. Label each tab with your chosen categories—like “Family Favorites,” “Weeknight Meals,” or “For My Daughter.”
– Consider adding a special section for “Heirloom Recipes” to highlight those treasured family recipes you want to pass down.
5. Assemble the Binder:
– Place all the protected recipe sheets into the binder behind their corresponding divider tabs. Use clear pocket folders to store clippings or notes that you may not have transferred yet.
6. Add a Personal Touch:
– Create a custom cover for the binder with a favorite family photo or a title like “Our Family’s Recipe Collection.”
– Add a dedication page inside with a message, such as “For my daughter, to carry on our family’s love of cooking.”
Tips for Keeping It Up-to-Date:
– Regularly add new recipes you discover or those that become family hits.
– Remove any recipes that don’t make it into your regular rotation to keep the binder lean and useful.
– Use a dry-erase marker on the plastic sheets for quick notes or adjustments before finalizing them on paper.
Can I Make It A Published Cookbook?
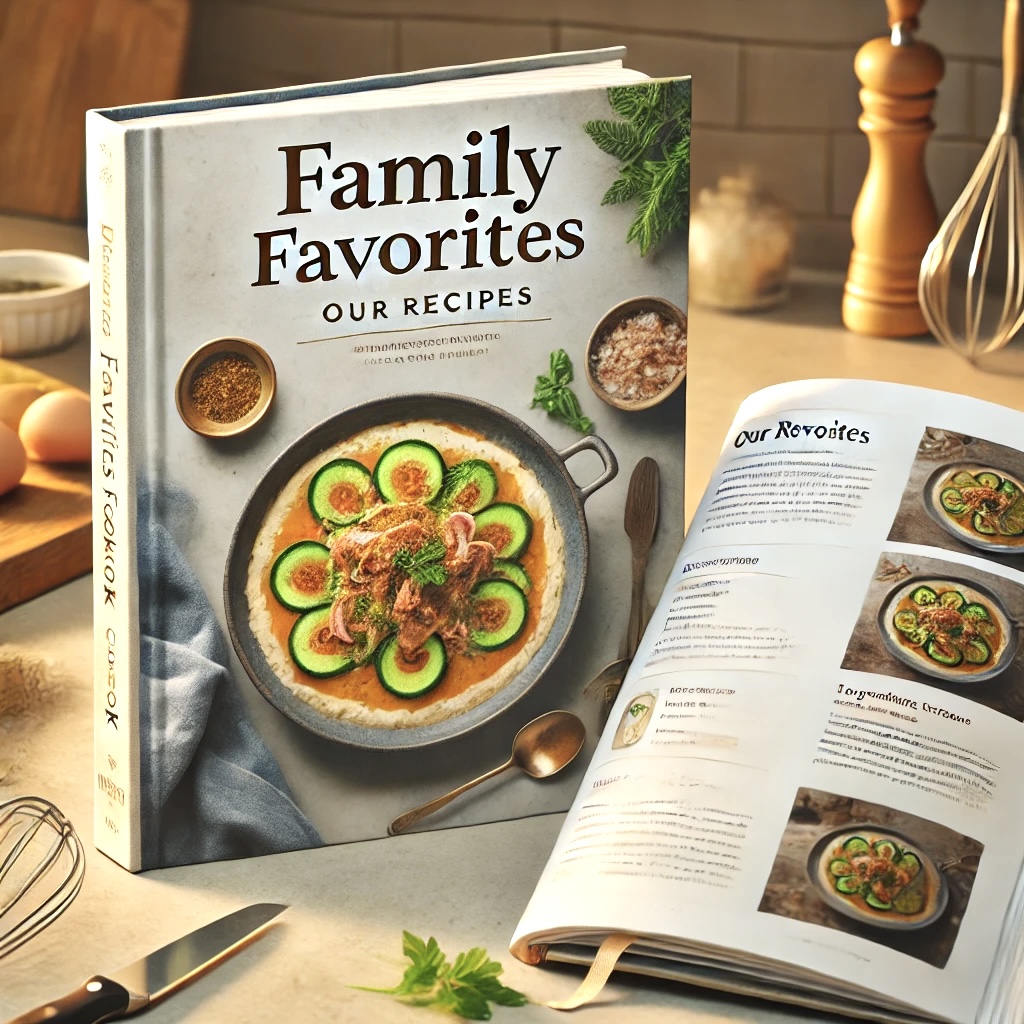
Yes, absolutely! Your DIY recipe binder can easily be transformed into a personalized cookbook. Here’s how to make it feel more like a cohesive, custom cookbook:
1. Create a Custom Cover:
– Design a cover page that reflects your style or family’s heritage, like “Our Family Cookbook” or “Grandma’s Recipes for Generations.”
– Use a photo of your favorite dish or a meaningful family photo to make it truly special.
2. Add a Table of Content:
– Include a simple table of contents at the front, listing each category and its starting page number. This makes it easier to navigate through the binder and adds a professional touch.
3. Include Personal Stories and Memories:
– Add a few sentences before each recipe, sharing why it’s special to you or how it became a family favorite. For example, “This chocolate cake was my mom’s go-to for every birthday.”
– Include photos of the dish or memories of family gatherings where the recipe was enjoyed.
4. Design Chapter Dividers:
– Use printed dividers with titles like “Breakfast Classics,” “Grandma’s Secrets,” or “Holiday Traditions” to give it the feel of a traditional cookbook.
– Consider adding a short introduction for each section, sharing memories or traditions associated with the recipes.
5. Printable Recipe Cards:
– Print your recipes on high-quality recipe cards, or use a consistent template to give a uniform look. This can be done directly from your computer, or you can use printables from *The City Cottage*.
– Using a consistent style throughout will give the entire binder a polished, cookbook-like feel.
6. Index Your Recipes:
– Add an index at the back of the binder with all your recipes listed alphabetically. This is a great way to quickly find a specific dish, just like a traditional cookbook.
7. Consider Binding It:
Once you have all the recipes and sections in place, you could even take it to a local print shop to have it professionally bound, turning your recipe binder into a beautiful, hardcover family cookbook.
Turning your DIY recipe binder into a cookbook allows you to preserve family traditions, share special memories, and create a keepsake that can be passed down for generations. It’s a heartfelt way to keep your family’s culinary heritage alive!
Something Different
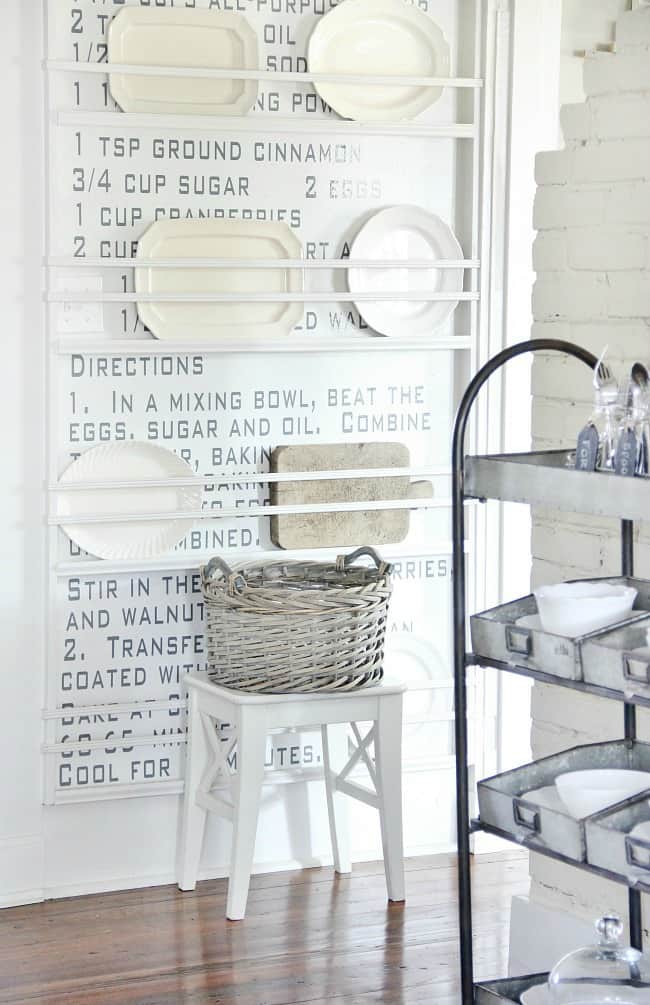
This is from a friend and blogger, Karianne, I always loved this. I just never had any room to put it. If you do, here is her instructions and story behind it wall recipe.
Credit: Thistlewood Farm, Karianne Wood
Conclusion
Creating a DIY recipe binder is the perfect way to preserve cherished family recipes and organize your favorite dishes all in one place. Whether you’re looking to pass down heirloom recipes or create a custom cookbook filled with your personal favorites, this project adds a personal touch to your kitchen. Plus, with a budget-friendly and easy-to-follow method, you can create a functional and beautiful recipe organizer that will be treasured for years to come.
Have a favorite family recipe or a tip for keeping your kitchen organized? Share it in the comments below! And if you’re ready to create your own recipe binder, don’t forget to download my free printable recipe templates to get started!
Before You Go…
As always, I appreciate your visit, comments, and shares here on the blog! I’d love it if you also follow along with me on Pinterest, Instagram, and Facebookso you won’t miss any of my inspiration and ideas.
QUESTION:
Are you already a subscriber of The City Cottage? If not, sign up below to be the first to receive exclusive DIYs, home styling tips, organizing guides, and free printables straight to your inbox. Enjoy seasonal inspiration, budget-friendly projects, and early access to special deals and promotions. Let’s create a home you truly love together!
Before You Go . .
Enjoyed this post? Let’s stay connected!
📌 Follow me on Pinterest for daily home inspiration!
📷 Join me on Instagram for behind-the-scenes styling tips.
🛍 Shop my favorite home finds here.
📧 Subscribe to my newsletter for exclusive styling tips & freebies!
This post may contain affiliate links. This means I may earn a small commission at no extra cost to you when you make a purchase. Thank you for supporting The City Cottage!
