Storing Christmas Memories: My Personal Organization Tips
Are you feeling overwhelmed by the clutter of holiday decorations and unsure where to start? Then this post is for you!
The twinkling lights are turned off, the festive cheer is fading, and the time has come to pack away the holidays. If you’re anything like me, you know the struggle of turning a chaotic post-Christmas mess into neat, organized storage. This year, I decided it was time to embrace a more thoughtful approach. By downsizing and rethinking my methods, I found ways to make storing Christmas treasures a little less daunting and a lot more meaningful.
I thought I would share my organizing and packing away Christmas decorations.
I always de-clutter before packing up anything. Downsizing to the apartment taught me the importance of the less practice, not just words. I started by assessing my decorations:
- Did I use this item this year?
- Is it still in good condition?
- Does it hold sentimental value? Let go of anything that doesn’t bring joy or serve a purpose. Donate or discard items to begin with a clean slate.
Tip
Group items by how you decorate. For example, if you decorate one room at a time through your home, then group each room’s decorations in a separate container and label it with that room. Then next Christmas you can just open the bin(s) you need for the room you’re decorating at the time. Or, if you like to use the same type of decoration all at once in different areas of your home (e.g. garland, candles, or lights) then store all of that type of decoration together.
Invest In Quality Storage Containers
1. Start with a Plan
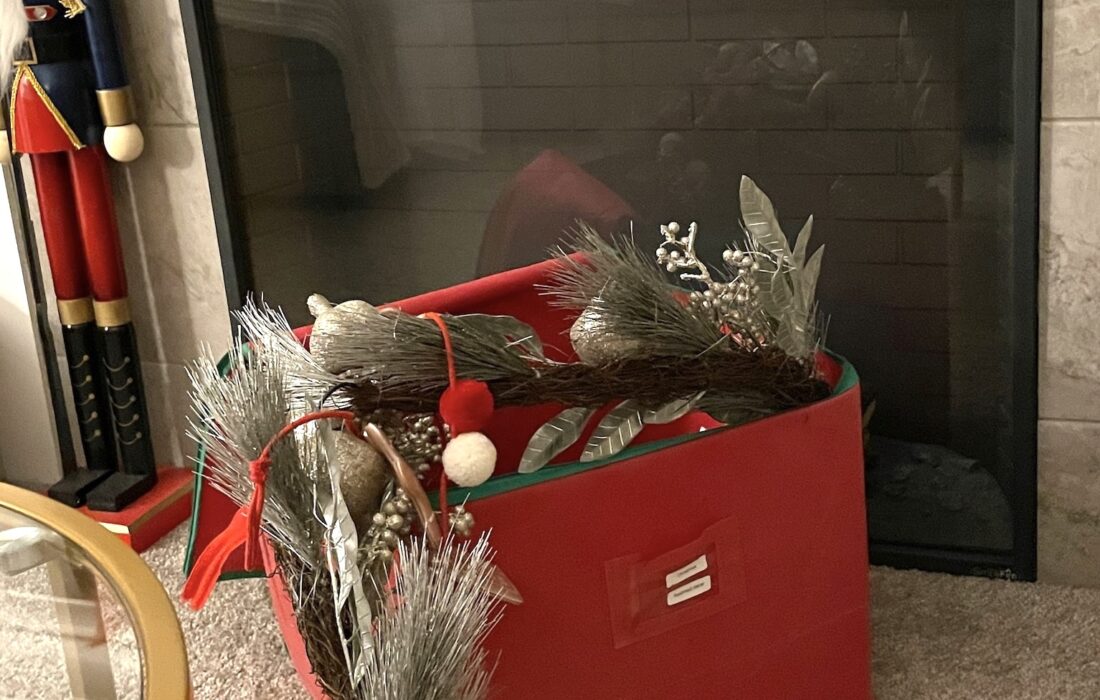
This year was a challenge—trying to find the garland for the mantel was frustrating. When I finally located it, it was mixed in with Thanksgiving decorations! I decided it was time to get organized. After exploring various storage solutions, I found this one that fit my needs perfectly.
While living in my home, I had several storage bags and bins. Now, living in a smaller space, I don’t have room for as many. If I could, I’d have a variety of storage options, but sometimes you have to make the most of the space you have.
2. Use Clear, Stackable Bins
Clear bins make identifying contents so much easier. No more rifling through boxes for 15 minutes only to find it’s not the right one! Labeling bins is another critical time-saver. I’ve used a NIMBOT D110 label maker in the past, and it’s been sufficient. Along with labeling, I’ve also relied on a Christmas storage inventory list, which includes bin numbers and contents. Recently, I discovered, from My Blogger Buddy, Karianne @Thistlewood, the Intelligent Tote Scan QR Labels. These labels don’t require a machine and can be scanned and managed from your smartphone. I’m excited to try them out! Ordered not arrived yet at the time of this Post.
3. Protect Fragile Ornaments
Fragile ornaments need extra care. Specialty containers are a great investment, especially for larger ornaments. I label bins with contents and the room they belong to using a good label system. Wrapping ornaments in acid-free tissue paper or paper towels provides additional protection.
Take pictures of your decorated home before you pack everything up. It will make it easier to remember how your decorations were used this year. You can take pictures to store in your Google Drive, make individual Folders in Google, labeling them each room, and store them on your hard drive. It makes it easy decorating next year.
4. Invest in Quality Storage Containers
Use clear, stackable bins to easily identify contents.
Opt for specialty containers for fragile ornaments, wreaths, and string lights.
Label each bin with its contents and the room it belongs to (e.g., “Living Room Ornaments” or “Outdoor Lights”).
5. Egg Cartons for Small Ornaments I love to recycle so I use egg cartons. These Simple little cartons are very versatile for storing small ornaments, jewelry, or office supplies. Bubble wrap from Amazon packages also makes excellent cushioning material.
6. Organize String Lights:
Preventing tangling you can continue to wrap your string lights around cardboard or you could replace the old way with these reels. These are a great tool for staying organized, I have used this one in the past. I am sure the new homeowners are thrilled with all their Christmas decorations that are so neatly organized. Labeling the lights by location—indoor or outdoor—saves time. Keep replacement bulbs handy and replace them as you take down the lights.
TIP:
If you hire a company for outdoor lights, consider creating a schematic for easy reinstallation.
7. Vacuum-Sealed Bags for Decor . Vacuum-sealed bags are a fantastic option for storing soft items like tree skirts, stockings, and holiday pillows. Why was I not doing this before? DUH! By compressing these items, you save valuable storage space while keeping them protected from dust, moisture, and pests. These bags are especially useful for small spaces where maximizing storage is crucial. Simply place your items inside the bag, seal it, and use a vacuum cleaner to remove the air. The result is compact, stackable storage that’s easy to slide under a bed or into a closet.
Storing Your Tree
Properly storing your artificial tree is essential to keep it looking fresh year after year. My old way was plastic bags and then I invested in durable tree storage bags to protect it from dust and moisture.
After a lot of searching, I chose a storage bag based on reviews and ease of use. It arrived pre-assembled—all I had to do was zip it up and roll it away.
If you are someone who likes to take the tree apart, I have seen many others for that purpose. Some of my choices would be one that zips can give your holiday decor a fresh look.
Best Dinnerware and Stemware Storage
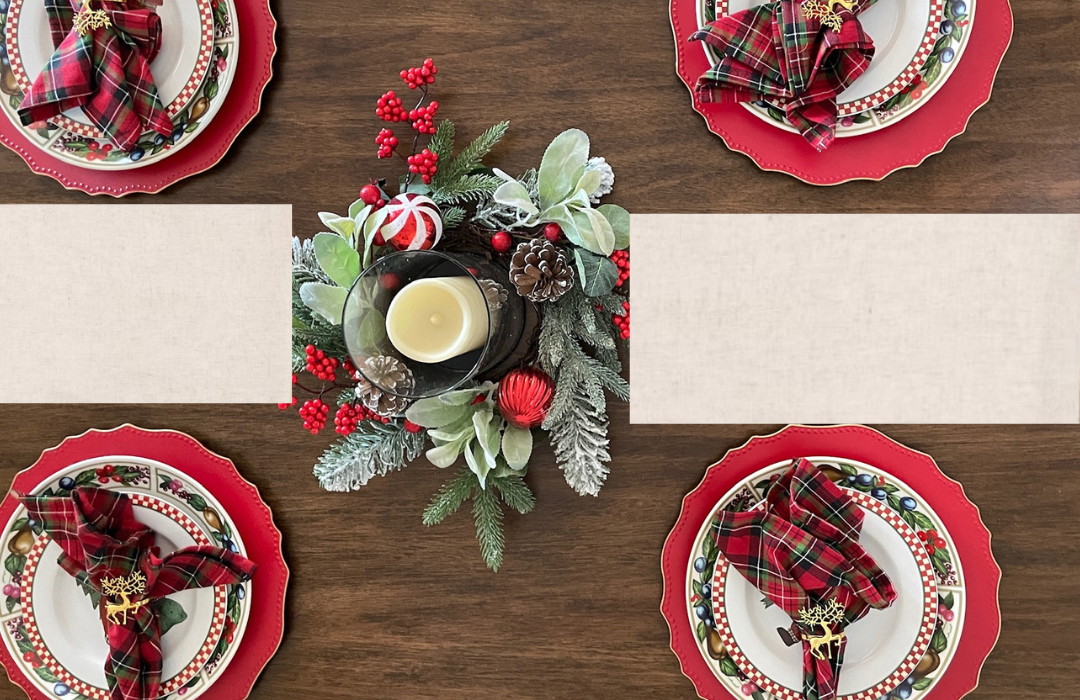
Since downsizing, I’ve scaled back my dinnerware collection but still enjoy creating festive tablescapes. So therefore I don’t have a lot of dinnerware and stemware, etc. since downsizing..I have always used canvas zippered bags for each style of tableware (i.e. Dinner plates, dessert, salad, and coffee, cups, and saucers). My stemware is my every day stemware. It’s already got a home. All I do is take the stemware out and when I’m done with them, I just put them back in their home. If you have stemware that is special only to the season and they have beautiful which I have used in the past, stemware zippered bags. I also have Plate chargers and placemats for each season. Those get put in with the regular decorations.
Canvas zippered bags work well for plates, chargers, and placemats, while stemware stays in its everyday spot.
Group by Category and Color
Organize Decorations Sorting decorations by type and color streamlines next year’s decorating process. For example, use dish containers for tableware and clear bins for centerpieces. Label each bin.
Best Wreath Storage
Since downsizing to an apartment, I’ve streamlined my wreath collection, but keeping them organized remains a priority. Clear plastic wreath bags are my go-to—they’re affordable, available in various colors, and make it easy to see what’s inside. For longer garlands, zippered wreath bags with handles are a fantastic option. I include them in my inventory list to keep everything organized and easy to locate.
If space is limited, consider hanging wreaths in a closet. I use hooks to keep them off the floor, storing each wreath in a zippered bag for protection. Hanging them from wire shelves saves valuable closet space and prevents damage. For those with more room, adding shelving for bins and bulkier items can be a game-changer. DIY shelves are an affordable and durable solution that maximizes storage potential.
Storing Gift Wrap
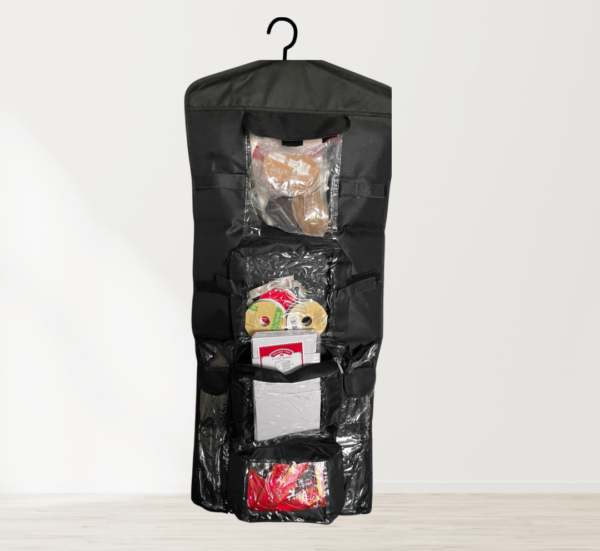
I used to keep all my gift wrap shoved into a paper bag with handles—not exactly ideal! But now, I’ve switched to a hanging two-sided gift wrap station, and it’s may things much easier to find. Not to mention it looks good as well. It’s simple, fits perfectly in a small space, and keeps everything neat and easy to access.
If you have more room to work with, there are plenty of other great options out there, like under-the-bed storage organizers that keep everything tucked away yet still accessible. Some even come with extra compartments for ribbons, tags, and more, making it easy to stay organized no matter your space.
Having a dedicated spot for gift wrap is a “must-have”. This year, I created a proper gift wrap storage solution, and it’s been life-changing. Everything—wrapping paper, ribbons, boxes, and tags—has its place. I found several other great storage options, like these:
- A two-sided hanging organizer.
- A circular gift wrap organizer for small spaces.
- Set of 2 hanging gift wrap storage
EXTRA TIPS:
- Use under-bed storage or hanging organizers for compact spaces.
- Keep wrapping paper in a tall, narrow container or storage bag.
Extra-Large Containers for Large Items
Extra-large containers work well for oversized decorations like nutcracker soldiers or artificial trees. My wooden nutcracker soldiers, standing 4.5 feet tall, are precious reminders of my brother and our shared love for The Nutcracker Ballet. To protect them, I use a rectangular Christmas tree canvas bag with added cardboard inserts for stability. This setup keeps them safe and upright while taking up minimal space.
I also have a large white Santa Claus that someone had made for me and I just love it. So it requires special care as well. These Canvas Christmas Tree bags will work perfectly. I’m so happy I finally found them.
Rotate and Refresh Annually
Review your collection before storing. Discard broken or unused items and donate those in good condition.
Change Your Placement
For years, my Christmas tree stood in front of the windows. This year, I moved it to the side of the fireplace, creating a cozy and intimate atmosphere between the living and dining rooms. Changing placement, adding floral elements, or switching up ribbons and
Conclusion
Organizing your Christmas decorations doesn’t have to be a chore. Following these tips will take you a bit of time this year, but it will save you so much time next year when you pull out your bins to decorate!
These practical and creative ideas, you can protect your decor, save space, and make holiday decorating even more enjoyable.
And if you felt the slightest bit overwhelmed this year, isn’t it worth the effort now to simplify next Christmas?
You’ve got this!
Before You Go . .
Enjoyed this post? Let’s stay connected!
📌 Follow me on Pinterest for daily home inspiration!
📷 Join me on Instagram for behind-the-scenes styling tips.
🛍 Shop my favorite home finds here.
📧 Subscribe to my newsletter for exclusive styling tips & freebies!
This post may contain affiliate links. This means I may earn a small commission at no extra cost to you when you make a purchase. Thank you for supporting The City Cottage!

